| This article is a stub. You can help Hill Climb Racing 2 Wiki by expanding it. |

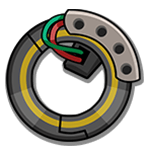
Feast your eyes on the poorly-upgraded Kanga parts.
The Kangaroo Setup is undoubtedly the most used tuning parts combination in Hill Climb Racing 2. It consists of the Landing Boost, Jump Shocks and Wings (though the Wings can be interchanged with parts such as the Spoiler or Thrusters). The combination is most popular in the CC-EV, Super Diesel and the Hill Climber.
The "Kangaroo" term was coined from the constant "jumping" motion of your vehicle when performing the constant perfect landings in order to obtain a speed boost from the Landing Boost.
Parts[ | ]
Main Parts Used[ | ]
The standard Kangaroo Setup comprises of the Landing Boost, Jump Shocks and Wings. Both the Landing Boost and the Jump Shocks are the essential components of the setup and work together in order to maintain a high speed. The Wings supports the two aforementioned parts.
- The Landing Boost's main role is providing the vehicle with boosts from consistently performing perfect landings (where both wheels of the vehicle touch the ground simultaneously).

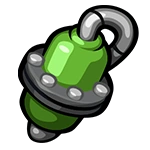
- The Jump Shock's main role is propelling the vehicle upwards after every successful perfect landing so that the Landing Boost will be able to provide another boost with the subsequent perfect landing.
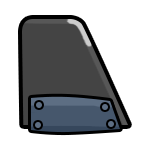
- Finally, the Wings supports the two by providing a slight speed-boost in mid air as well as the ability to glide in mid air, allowing the vehicle to cross over any hills or structures that may cause the vehicle to crash and lose speed in.
Other Parts Used[ | ]
As mentioned earlier, some parts like the Wings can be interchanged with other parts such as the Spoiler and the Thrusters.
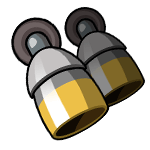
- The Kanga-Thruster setup replaces the Wings with the Thrusters, and is most common in vehicles whose wings are not as powerful, such as the Scooter and the Motocross. The Thruster has the same goal as the Wings, assisting the vehicle by allowing it to cross over steep hills and dangerous structures. This is, however, exchanged with an extremely high fuel consumption when using the thrusters.

- A new replacement for the Wings, the Spoiler has the adverse effect of the Wings as it keeps the vehicle on the ground more due to the increased downforce provided by it. Despite this, it's a good choice as a replacement for maps and tracks with low ceilings, such as the Mines races. The Kanga-Spoiler setup holds a World Record in the track The Esses in the Tunnels cup.

- The Kanga-Start Boost setup replaces the Wings with the Start Boost, and is most common in vehicles with slow acceleration such as the Sports Car and Formula. This setup is mainly used in Time Attack and helps with providing your vehicle with an initial high speed which you can maintain using the Landing Boost and Jump Shocks.
- The Kanga-Nitro replaces the Wings with the Nitro, and is now one of the more dominant setups in Cups and Time Attack. Unlike other setups, this setup is more centered around the Nitro which provides the vehicle with very high speeds upon release of a full-charge burst. The kangaroo-portion of this setup, like others, is still used to maintain this high speeds.
Effectiveness[ | ]
Adventure[ | ]

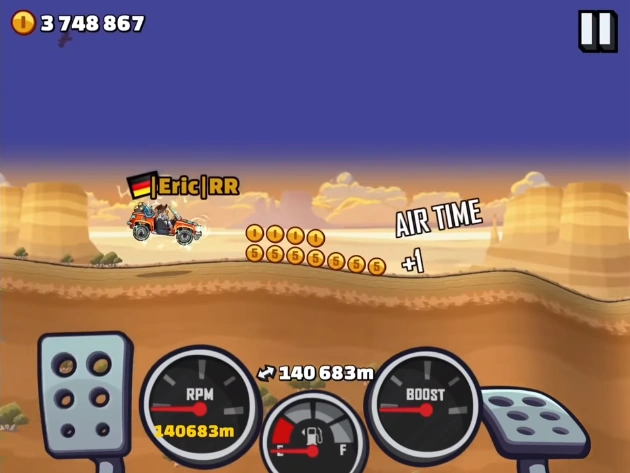
Look at this |Eric|RR guy go!
The Kangaroo setup dominates the Adventure mode primarily because of "No-Fuelling". No-Fuelling, as it's name suggests, is progressing in your adventure run despite lacking fuel. Due to the ability to consistently obtain the Perfect Landing Boost, with the Kangaroo setup you will not be able to slow down to a halt and end your run, as compared to every other part combination which cannot provide any means of propulsion without fuel remaining.
The kangaroo setup boasts many, many adventure World Records for almost every vehicle which contains the Kangaroo setup. This combination has also shown its success by it being used in the longest-distance run, which was 172,801m in the Desert Valley map by the player "ForMyRabbit".
However, there are a few maps in which the kangaroo setup cannot be used, for example the Countryside and Mountain maps. This is because they contain too many hills, so perfect landing boosts are far and difficult to achieve, therefore deeming the setup a poor choice in said maps.
Cups[ | ]
The Kangaroo setup shows some success in the Cups gamemode, however because of the lack of some good spots for the landing boost in some certain tracks a higher level of skill is required in order to grasp the full potential of this setup. The boost provided by the Landing boost is additionally rather weak when compared to other, faster boosts such as the Afterburner, Overcharged Turbo or Nitro.
With the usage of Kanga-SB and Kanga-Nitro, the kangaroo setup still proves to be a very successful setup for vehicles.
The setup still has its success in longer-distance cups such as the 1km tracks, as it is able to provide a more significant overall boost as well as more consistent high speeds. Additionally it also is still a good choice in other maps as some maps have very well-placed spots for landing boosts.
Events[ | ]
No Air-Time event[ | ]
The setup is the worst setup to use in this event because due to the constant gliding in the air, the setup will also provide lots of air-time, subsequently resulting in a colossal time loss in these events.

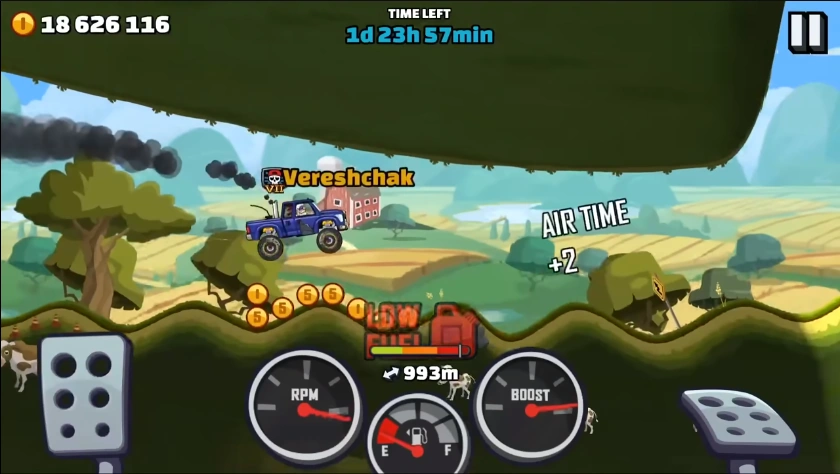
This Vereshchak guy looks like he could be a good YouTuber if he were to make a YT channel!
Multi Jump[ | ]
This setup is the best combination for this event because you will not be touching the ground for most of the time, and will mainly be gliding in the air (provided you use the standard setup that is). With the combination of the constant flow of boosts from the landing boost, you will be able to travel very far in these events if you use the kangaroo setup.
Standard Time Attack[ | ]
Refer to Cups in the Effectiveness heading.
Wheelie[ | ]
This setup is also a very useless combination in this event because you will not be able to obtain any perfect landing boosts as you cannot let your front wheel touch the ground upon crossing the start line.
2km Extra Fuel[ | ]
This setup is a good choice for this event, however it is not the best. This is primarily because of the presence of the extra fuel canisters, which means you can get bigger speed boosts with the Fuel Boost instead.